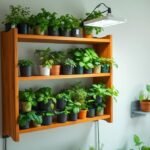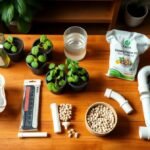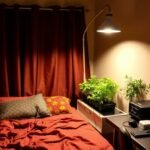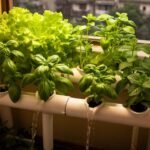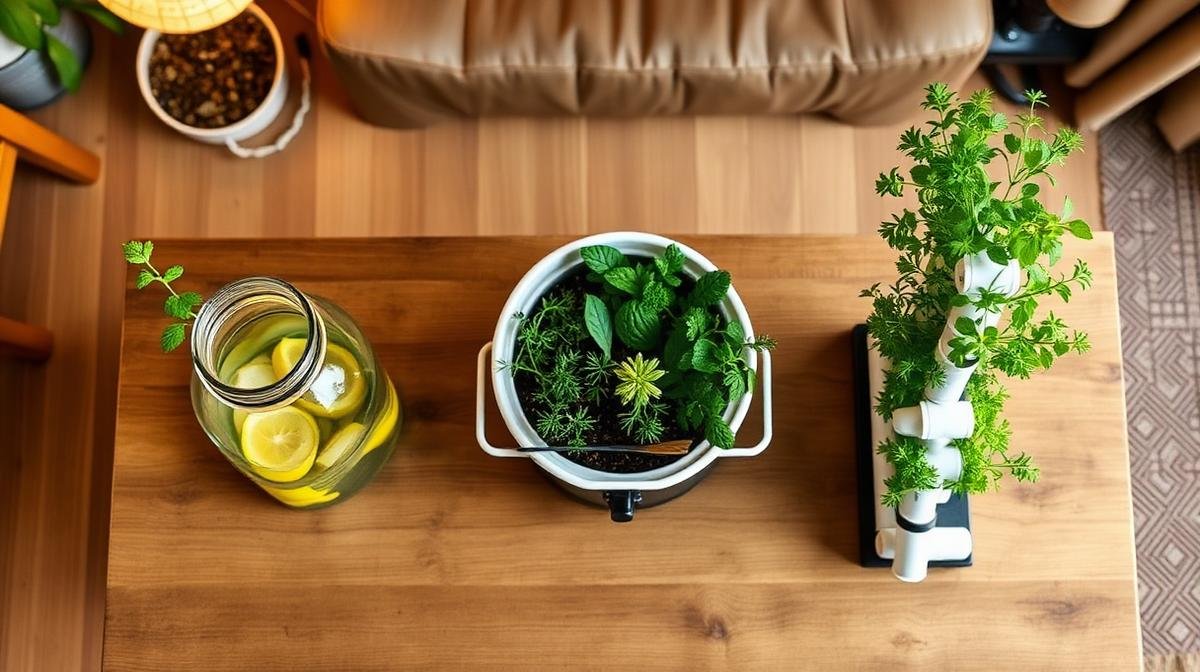
I’ve been growing stuff without soil in my 1BHK for about 6 months now. Started with a Kratky jar on the kitchen window, then got ambitious with a DWC bucket, and eventually went full “pagal engineer” mode and built a PVC tower in my bedroom corner.
But here’s the thing nobody on YouTube tells you — not every setup works equally well in a small Indian apartment. The conditions are different. The humidity is insane in monsoon, the summer heat murders your roots, and the “beginner-friendly” kits on Amazon are often overpriced garbage.
So I decided to run all three setups side by side for 60 days — same plants, same nutrients, same room. Here’s exactly what happened, what each one cost, and which one I’d recommend if you’re starting out.
⚡ The Short Answer
For pure beginners on a budget: Kratky jars (₹500, zero effort). For best growth speed and yield: DWC buckets (₹1,500, some daily attention). For maximum plants in minimum space: vertical tower (₹2,200, most maintenance). If I could only pick one forever, I’d keep my DWC setup.
Meet the 3 Contenders
Before I get into results, let me explain what each system actually is — because when I started, I thought they were all the same thing with different names. They’re not.
Setup #1: Kratky Mason Jars
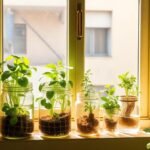
The Kratky method is the laziest form of hydroponics, and I mean that as a compliment. You fill a jar with nutrient solution, stick a net pot with a seedling on top, and walk away. No pump. No electricity. No timer. The plant drinks the water, the level drops, roots get air from the gap, and everything just… works.
I used 6 old Kissan jam jars (wrapped in black tape to block light), ₹8 net pots from Amazon, and cocopeat as the growing medium. Planted 6 basil seedlings — 1 per jar. Setup time? About 20 minutes.
Kratky Setup Cost Breakdown
| Item | Cost (₹) |
| Jam jars (reused) | ₹0 |
| Black tape for wrapping | ₹30 |
| Net pots ×6 | ₹48 |
| Cocopeat (small bag) | ₹60 |
| Nutrients (A+B) | ₹200 |
| Seeds (basil) | ₹20 |
| Total | ₹358 |
Setup #2: DWC (Deep Water Culture) Bucket
DWC is basically Kratky’s cooler older brother. Same concept — roots in nutrient water — but you add an air pump and air stone that continuously bubbles oxygen into the water. Think of it like an aquarium pump for your plants. The extra oxygen makes roots grow faster and healthier.
I used a 15L black bucket from the hardware store, drilled 4 holes in the lid for net pots, and ran a small aquarium air pump (the ₹450 Sobo brand from Amazon — same one fish people use). Planted 4 basil seedlings — same batch as the Kratky jars so the comparison is fair.
DWC Setup Cost Breakdown
| Item | Cost (₹) |
| 15L black bucket + lid | ₹120 |
| Sobo air pump | ₹450 |
| Air stone (2-inch) | ₹80 |
| Airline tubing (1m) | ₹40 |
| Net pots ×4 | ₹32 |
| Clay pebbles (500g) | ₹100 |
| Nutrients (A+B) | ₹350 |
| Seeds (basil) | ₹20 |
| Total | ₹1,192 |
Setup #3: Vertical PVC Tower
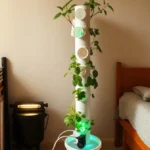
The tower is the Instagram star of hydroponics. A 4-foot PVC pipe with holes cut at intervals, plants sticking out from all sides, water pumped to the top and trickling down through the roots. It looks impressive and fits 15 plants in 1 square foot of floor space. But it’s also the most complicated to build and maintain.
I used a 4-inch diameter PVC pipe (4 ft), a small 18W submersible pump (₹350 on Amazon), a bucket as the reservoir, and cut 15 holes using a heated metal pipe. Planted a mix of basil, mint, and lettuce.
| Item | Cost (₹) |
|---|---|
| 4-inch PVC pipe (4ft) | ₹180 |
| PVC end caps + connectors | ₹120 |
| Submersible pump (18W) | ₹350 |
| Tubing + fittings | ₹100 |
| Reservoir bucket (20L) | ₹150 |
| Net pots ×15 | ₹120 |
| Clay pebbles (1kg) | ₹180 |
| Nutrients (A+B) | ₹350 |
| Seeds (basil, mint, lettuce) | ₹40 |
| Timer plug (optional) | ₹300 |
| Total (with timer) | ₹1,890 |
The 60-Day Side-by-Side Test
Here’s what I tracked every week for 60 days: plant height, number of leaves, root health, any pest/algae issues, and how much time I spent maintaining each system. All three were in the same room — my bedroom — near the same east-facing window. Same nutrient brand (Flora series from InHydro). Same pH target (5.8-6.2).
Week 1-2: The “Nothing Is Happening” Phase
All seedlings looked identical across all three systems. Honestly, I was starting to think this whole comparison was pointless. The Kratky jars sat there doing nothing visible. The DWC bucket bubbled away quietly. The tower… well, the tower’s pump made a noise my roommate compared to “a cat drinking water in the middle of the night.”
My mistake: I didn’t insulate the tower reservoir. The bedroom gets warm — 32-34°C in April — and the water temperature in the tower hit 30°C. Root rot territory. I wrapped the reservoir bucket in an old t-shirt and started adding 2-3 ice cubes every morning. Crude fix but it worked.
Week 3-4: DWC Pulls Ahead
By week 3, the difference was visible. The DWC basil had noticeably larger leaves and thicker stems compared to both Kratky and tower plants. The constant oxygen supply was clearly making a difference. The DWC roots were pure white and fluffy — almost beautiful, if you’re the kind of person who finds roots beautiful (I am, apparently).
The Kratky jars were doing fine — healthy, steady growth, no complaints. But slower. The tower plants were uneven — the ones near the top (where water hit first) were growing faster than the ones at the bottom. Gravity doing its thing.
Week 5-8: The Final Stretch
By week 6, I harvested the first batch from the DWC bucket — absolutely massive basil leaves, strong aroma, the kind you smell from across the room. The Kratky basil was ready by week 7 — perfectly good, just smaller plants with fewer leaves. The tower gave me a mix: the top 5 plants were great, middle 5 were okay, bottom 5 were honestly disappointing.
🚨 Tower Disaster — Week 7
The pump clogged. A piece of cocopeat from one of the net pots broke off, got into the reservoir, and blocked the pump intake. I didn’t notice for 36 hours. By the time I checked, 3 bottom plants had wilted beyond saving. This is the kind of thing that doesn’t happen with Kratky or DWC. Active systems need active babysitting.
The Results: Head-to-Head Comparison
| Category | Kratky Jars | DWC Bucket | Vertical Tower |
|---|---|---|---|
| Total Cost | ₹358 | ₹1,192 | ₹1,890 |
| Setup Time | 20 min | 45 min | 2+ hours |
| Plants Grown | 6 | 4 | 15 (12 survived) |
| First Harvest | Day 45 | Day 38 | Day 40 (top plants) |
| Weekly Effort | 5 min | 15 min | 25-30 min |
| Electricity | ₹0/month | ₹35/month | ₹50/month |
| Growth Speed | ⭐⭐⭐ | ⭐⭐⭐⭐⭐ | ⭐⭐⭐⭐ |
| Beginner Friendly | ⭐⭐⭐⭐⭐ | ⭐⭐⭐⭐ | ⭐⭐ |
| Space Efficiency | ⭐⭐⭐ | ⭐⭐ | ⭐⭐⭐⭐⭐ |
| Failure Risk | Very Low | Low | Medium-High |
My Honest Verdict
🏆 Best Overall: DWC Bucket
The sweet spot between effort and results
If I could only keep one system, it would be DWC. The growth speed is noticeably better than Kratky, the setup is simple enough for anyone who’s done basic Kratky first, and the maintenance is just 15 minutes a week. The air pump runs quietly (unlike the tower pump), uses almost no electricity, and the risk of catastrophic failure is low. It’s the system I recommend to anyone who’s grown even one plant in Kratky and wants to level up.
🥈 Best for Beginners: Kratky Jars
If you’ve never done hydroponics before, start here. Zero risk, zero cost (if you reuse jars), zero maintenance. Yes, the growth is slower, but you’ll learn how nutrients work, how pH affects plants, and whether you actually enjoy this hobby — all for the price of a cutting chai. I still keep 4 Kratky jars on my kitchen window. They’re the cockroach of hydroponic systems — impossible to kill.
🥉 Best for Space: Vertical Tower
The tower is impressive and space-efficient, but it’s not a beginner project. The pump can clog, the water distribution is uneven (top plants always do better), and if something goes wrong while you’re away for a weekend, you lose plants. But if you’re experienced and want to maximize output from 1 sqft? Nothing beats the tower. It’s also the setup that gets the most “bhai, kya hai ye?!” reactions from visitors.
Mistakes I Made (So You Don’t Have To)
❌ Used clear containers for Kratky
Algae grew within a week. Light + nutrients = green water. Always use opaque containers or wrap in black tape.
❌ Didn’t check pH for 2 weeks
My Bangalore tap water is pH 8.2. The plants in DWC started showing yellow leaves (nutrient lockout). Now I check every 3-4 days.
❌ Ran the tower pump 24/7
The roots were constantly wet and started getting slimy. Switched to a timer — 15 min on, 45 min off — and the roots recovered in a week.
❌ Used the same nutrient strength for all
Seedlings need half-strength nutrients. I burned my first batch of Kratky lettuce with full-strength solution. The leaf tips turned brown and crispy.
❌ Placed the tower near the curtain
Water splashed from the holes onto the curtain. My roommate was not pleased. Move your tower away from anything that shouldn’t get wet.
If I Had to Start Over with ₹2,000
Here’s exactly what I’d buy if I lost everything and had a ₹2,000 budget to restart from scratch:
- 3 Kratky jars for the kitchen window — ₹150 (net pots + cocopeat + tape). To learn and grow daily herbs.
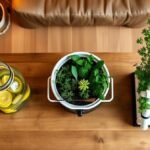
- 1 DWC bucket as the main production system — ₹1,200 (bucket + pump + air stone + nutrients). This is where your serious growing happens.
- pH testing strips — ₹150. Non-negotiable. Indian water is too alkaline for hydroponics without testing.
- Seeds — ₹100. Basil, mint, lettuce. Don’t bother with tomatoes or coriander yet.
- Remaining ₹400 — save it for a second DWC bucket when you’re ready to expand.
~ Everyone online will tell you to “just start” — and they’re right, but start small. Don’t buy a ₹5,000 kit on Amazon. Don’t build a tower on day 1. Do 2-3 Kratky jars, understand how nutrients and pH work, kill a plant or two (it’s fine, I killed 4), and then level up to DWC. The knowledge matters more than the equipment.
- I Stopped Recommending Kratky to Beginners — Here’s What Changed My Mind
- I Grew Fresh Herbs on My Kitchen Counter for 90 Days — My Honest Hydroponic Setup (Under 1,200)
- I Tested 3 Small Hydroponic Setups — Here’s the Best One
- I Turned My Boring Window Into a Mini Farm (Zero Soil)
- I Built a Vertical Hydroponic Tower in My Tiny Room