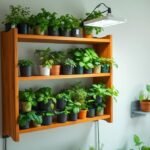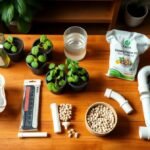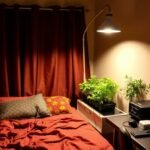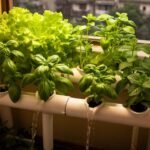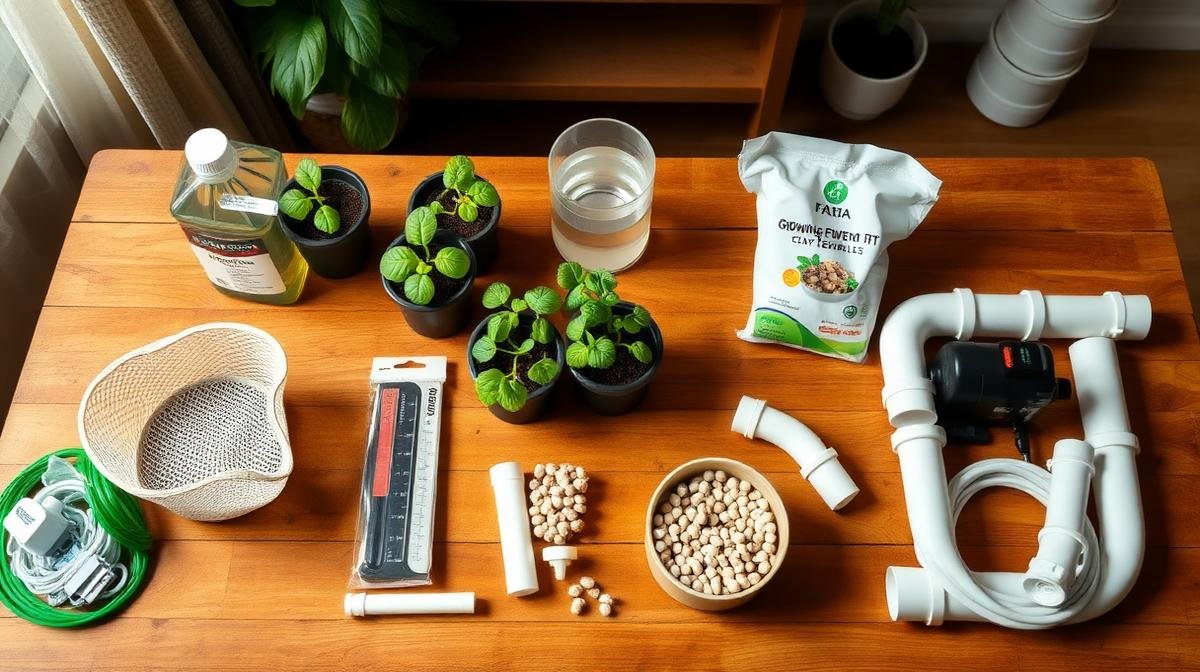
Let me tell you something nobody in the “hydroponic community” wants to admit — most of those fancy setups you see on Instagram? They cost ₹8,000-15,000. Minimum. And half the stuff in those kits? You don’t even need it.
I know this because I’ve now built three different systems (you might’ve read about my 2×2 ft balcony setup or the bedroom corner experiment). And every single time, the most common question I get is the same: “Bhai, kitna paisa lagta hai actually?”
So today I’m going to do something I should’ve done from blog one. I’m breaking down every. single. rupee. No rounding off. No “approximately.” The actual cost. Let’s go.
Bottom Line First
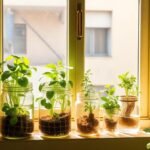
I built a fully functioning 6-plant Kratky hydroponic system for ₹1,847. It grows lettuce, mint, and methi. It sits on my windowsill. It uses no electricity (no pump, no air stone). And it’s been running for 7 weeks now without a single dead plant.
If you add an LED grow light (which I’d recommend if your window doesn’t get great sunlight), the total goes to about ₹2,350. Still under ₹2,500. Still cheaper than most “beginner kits” on Amazon India that come with half the capacity.
Why I Wanted to Go Ultra-Budget This Time
Honestly? I was a bit frustrated. Every time I’d recommend hydroponics to friends or family, they’d look up kits online and go “₹6,000 for growing mint? Main market se kharid lunga.” And like… fair point? If the barrier to entry is that high, most people will never try it.
I wanted to prove — mostly to myself — that you can start meaningful hydroponic growing for the cost of two Zomato orders. That’s it. Two orders of butter chicken and naan. Except instead of food coma, you get food growing.
Also I’ll be honest, there was some ego involved. I saw a YouTube video where a guy said “you can’t build a proper system under ₹3,000.” Challenge accepted, bhai.
The Complete ₹1,847 Breakdown
Here’s every item I bought, where I got it from, and what I paid. I’m not linking affiliate stuff here — this is just pure info. Some of these you might already have at home tbh.
| Item | Source | Cost(₹) |
| 6L plastic containers × 3 | Local housewares shop | ₹210 |
| Net pots (2 inch) × 12 | Amazon India | ₹149 |
| Cocopeat block (1 kg) | Nursery near metro station | ₹45 |
| Hydroponic nutrients (AB formula, 500ml each) | InHydro.in | ₹450 |
| pH testing strips (pack of 80) | Amazon India | ₹199 |
| pH Down solution (100ml) | Amazon India | ₹129 |
| Seeds — lettuce, mint, methi | Local nursery | ₹60 |
| Black spray paint (small can) | Hardware store | ₹85 |
| Measuring spoons + syringe | Medical store | ₹30 |
| Drill bit for net pot holes | Already had (₹0) | ₹0 |
| Aluminium foil (for light reflection) | Kitchen drawer lol | ₹0 |
| Miscellaneous (tape, marker, etc.) | Had at home | ₹90 |
| TDS meter | Amazon India | ₹399 |
| Total | —————— | ₹1847 |
* The TDS meter is optional but I really recommend it. Without it you’re basically guessing your nutrient concentration. The pH strips and pH Down are non-negotiable though — Indian tap water is usually pH 7.5-8.5, and your plants want 5.5-6.5.*
How I Actually Built It (The Messy Version)
I’m not going to give you a clean “Step 1, Step 2” tutorial here. There are a hundred of those on YouTube. What I’ll give you is what actually happened when I built mine, including the dumb mistakes.
The Containers
Bought three 6-litre opaque plastic containers from a housewares shop in Lajpat Nagar (Delhi people, you know the vibe). The guy looked at me funny when I asked if they’re food-safe. Yes bhai, they’re food-safe. They’re literally meant for storing dal.
Important thing — you NEED opaque containers. Clear ones let light in, light = algae, algae = dead plants and gross water. I spray-painted mine black on the outside just to be safe. Some people wrap them in black tape. Whatever works. The point is: no light should reach the water.
Drilling the Holes
This is where I made my first mistake. I used a regular drill bit and cracked the first lid. Plastic lids are thin and brittle. You need either a hole saw bit (₹150-200, but I already had one) or the hot knife method — heat a metal pipe/bottle cap and press it through the lid to melt a clean hole.
I drilled 4 holes per lid. 2-inch diameter each. The net pots should sit snugly — you don’t want them falling through. I learned this after watching one plop into the nutrient water at 11 PM. Fun times.
Mixing the Nutrient Solution
This is the part that scares most beginners but it’s genuinely easier than making chai. The AB formula I got from InHydro comes with instructions. Basically: 5ml of A + 5ml of B per litre of water. Mix A first, stir, then add B. Never mix A and B directly — they’ll react and become useless.
After mixing, check pH. My tap water was 8.1 (classic Delhi water). Added 6-7 drops of pH Down per litre to bring it to 6.0. Check with the strips. Done. Took me 10 minutes for all three containers. If you’ve ever followed a cooking recipe, you can do this. I promise.
Planting
I soaked cocopeat in water, squeezed out excess moisture, filled the net pots about 3/4 full, and dropped 2-3 seeds per pot. For mint, I cheated — used a cutting from my mom’s garden (thanks Ma). Mint cuttings root in water in like 4-5 days, it’s almost unfair how easy it is.
The water level should touch the bottom of the net pots initially. As roots grow down into the water (takes about a week), you can lower the water level slightly. This is the Kratky method — it creates an air gap between the water surface and the pot, which gives roots oxygen. No pump needed. No electricity needed. Just gravity and biology doing their thing.
What Happened Week by Week
Week 1: Stared at the containers every morning like a new parent. Nothing visible. Felt like an idiot. Almost topped up the water out of anxiety (don’t do this — the air gap is intentional).
Week 2: Tiny roots poking through the net pots. Mint cutting already had 2-inch roots. Lettuce seedlings about 1cm tall. Methi seeds sprouted but two of them looked weak. Removed the weak ones — no point fighting for resources in a small pot.
Week 3: Okay NOW things got exciting. Lettuce leaves were actually visible and recognizable as lettuce. Mint was going absolutely feral — I could see roots swimming in the water when I lifted the lid. The water level had dropped maybe 1.5 inches. Topped up with plain pH-adjusted water (not nutrients — this is important, you add nutrients only during scheduled changes).
Week 4: First harvest. Cut some methi leaves for making aloo methi. My flatmate was suspicious. “Tu ne ugaya hai ye? Sach mein?” Yes bhai. Sach mein. It tasted… honestly better than store-bought? Maybe placebo. Maybe not. The leaves were tender and had this freshness you don’t get from sabzi mandi methi that’s been sitting in a pile for 2 days.
Week 5-7: Steady production. Harvesting mint and methi every 4-5 days. Lettuce took longer — got my first full lettuce head at week 6. Changed the nutrient solution completely at week 4 (pour old one out, mix fresh batch). Water consumption was about 1 litre per container per week — less than I expected honestly.
Mistakes I Made (So You Don’t Have To)
1. Used clear containers first. Algae showed up within a week. The water turned green and gross. Had to start over with opaque containers. Wasted 3 days and some seeds. Don’t be like me.
2. Forgot to check pH for the first 10 days. My lettuce seedlings went slightly yellow. Turns out my water was at pH 8.2 — way too high. After correcting to 6.0, they recovered within a week. pH matters. I can’t stress this enoguh.
3. Over-planted. I put 5 seeds per net pot because “more is better, right?” Wrong. They competed for nutrients and light. 2-3 seeds max per pot. Thin to the strongest seedling after a week.
4. Placed the setup in direct afternoon sun. The water temperature shot up to 35°C. Roots don’t like that. Moved it to a spot that gets morning sun only (east-facing window) and everything calmed down. If you’re in a hot city — Hyderabad, Chennai, Delhi summer — keep it in indirect light or use an LED.
Do You Actually Need an LED Grow Light?
Depends. If your window gets 4-5 hours of decent sunlight, you’re fine without one. My windowsill gets morning sun till about 11 AM — that’s enough for lettuce and mint but methi was a bit leggy (tall and thin, reaching for light).
If you want to add one, a basic 20W full-spectrum LED strip costs about ₹500 on Amazon. Run it 12-14 hours a day. Electricity cost? About ₹40-60 per month. That’s less than your phone charger probably. Worth it if you’re growing in a room that doesn’t get great natural light — which is like, most Indian apartments lol.
I wrote more about indoor lighting in my bedroom hydroponic setup post if you wanna go deeper on that.
Monthly Running Cost After Setup
People always ask about setup cost but forget about the ongoing expenses. Here’s the truth — it’s almost nothing.
Nutrients: ~₹80/month (the 500ml bottles last about 6 months at home scale)

pH strips/solution: ~₹30/month

Water: ~15-20 litres/month (negligible cost)

LED electricity (optional): ~₹50/month

Seeds: ~₹20/month (or free if you save seeds)

Total monthly cost: ₹130-200
For context, I used to spend ₹150-200 per week just on herbs and greens at the sabzi mandi. Now I spend that much per month on the entire system. The math is stupid simple — it pays for itself in 6-8 weeks.
Buying Tips for India Specifically
Look, I’ll save you some research hours here. Here’s what I figured out the hard way.
- Skip Amazon for containers. Local housewares shops are 40-50% cheaper. Amazon charges ₹300-400 for the same containers you’ll find for ₹70 locally. Save that money for nutrients.
- Buy nutrients from InHydro.in or CityCrop.in. They’re specifically formulated for Indian water conditions. General-purpose ones from Amazon work but Indian brands have better customer support if you’re confused.
- Don’t buy “hydroponic kits” under ₹1,500. Most of them are just repackaged containers with overpriced net pots. You’re paying for the box design at that point. DIY is always cheaper AND you learn more.
- Get a TDS meter. ₹399. Best investment I made. It tells you the nutrient concentration of your water instantly. Without it, you’re basically guessing — and guessing leads to either nutrient burn or starving plants.
- Check Kratky Gardening’s guide — it’s the best English resource I’ve found for understanding the method deeply. Free and very thorough.
Why This Matters More Than I Expected
I started this as a challenge. “Can I do it under ₹2,000?” But somewhere around week 3, when I was eating methi that I’d grown myself, on a windowsill, in a rented apartment in Delhi — something shifted.
It’s hard to explain without sounding dramatic. But there’s this feeling when you grow your own food — even if it’s just a handful of herbs — where you feel a little less dependent. A little less stuck in the whole cycle of buying everything, trusting labels you can’t verify, wondering if that “organic” spinach is actually organic or just expensive regular spinach.
I’m not gonna pretend I’m feeding myself entirely from three containers. I’m not. But I haven’t bought mint, methi, or lettuce in almost two months now. That’s real. And the setup cost less than dinner for two at a decent restaurant.
If you’ve been thinking about trying hydroponics but felt like it’s too expensive or too complicated — it’s not. ₹1,847 and maybe an hour of setup. That’s all it took. Stop researching. Start building. Worst case, you lose two Zomato orders worth of money. Best case, you’ve got fresh greens for months.
Ab bas padhna band karo aur karna shuru karo 😄