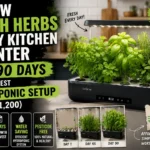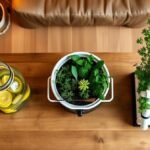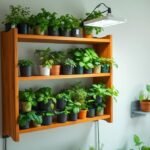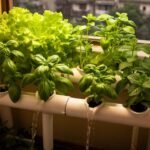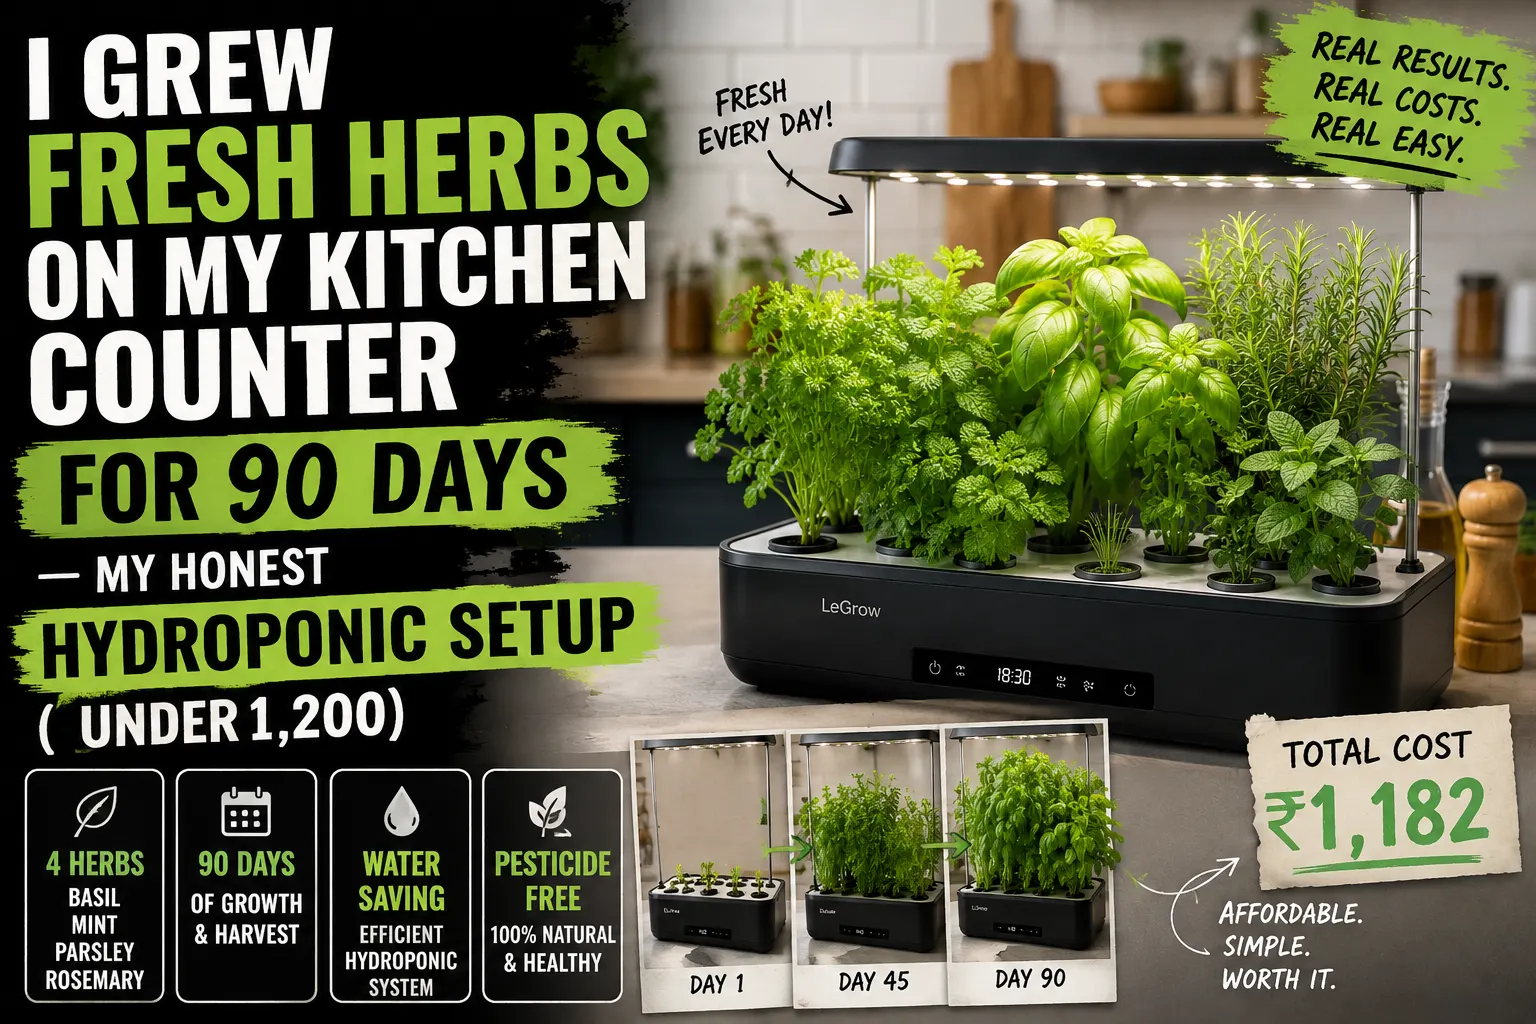
Three months ago, my kitchen counter held two things: a chai dabba and a half-dead money plant my mom had given me “for prosperity.” Today, that same 2-foot stretch of counter is producing fresh basil, mint, coriander, and lettuce — enough that I haven’t bought herbs from the supermarket in 11 weeks. Total spend: ₹1,180. Total electricity used: a 10W LED grow light. Total floor space taken: zero.
This isn’t a “look at my dreamy aesthetic kitchen garden” post. This is a 90-day honest log — what I bought, what I broke, what I’d do differently, and what nobody tells you about hydroponics in an actual working Indian kitchen (where things get hot, splattery, and oily).
⚡ The Short Answer
A countertop hydroponic system works brilliantly for herbs and small leafy greens in Indian kitchens — provided you (1) use an opaque reservoir to block algae, (2) place it away from the cooking range to avoid oil splatter, and (3) add a small grow light if your kitchen gets less than 4 hours of direct sun. ₹800–₹1,500 gets you a fully functional 6–8 plant setup.
Why the Kitchen Counter Is the Smartest Place for a Hydroponic Setup
I’ve tried every spot in my apartment. Balcony — sun is great, but herbs wilt by 2 PM. Bedroom shelf — works, but I forget about them. Window sill — limited space. The kitchen counter? It hits a sweet spot nobody talks about: you see it every single day, multiple times a day. That visibility translates to attention, and attention is the #1 thing that keeps hydroponic plants alive.
There’s a real cooking benefit too. When you’re three minutes into tempering a dal and realize you forgot fresh coriander, you reach over, snip what you need, and toss it in. The flavour difference between supermarket coriander (cut 4–5 days ago, refrigerated, washed in chlorine water) and live coriander you just clipped is genuinely shocking. I noticed it on the first cup of pudina chai I made.
Indian kitchens also tend to have decent natural light from cooking-area windows, plus the constant warmth of cooking activity keeps water temperature stable — which Kratky-style setups love. The only real concern is oil and steam from the stove, which I’ll cover below.
The Exact Setup I Built (Full Cost Breakdown)
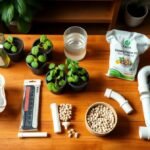
I went with a hybrid: 6 plants on a small DWC-style tray + 2 jars on the side for backup mint and coriander. Here’s everything I spent:
| Item | Qty | Cost (₹) | Source |
|---|---|---|---|
| Shallow plastic tray (12×8 inch, opaque) | 1 | 120 | Local market |
| Thermocol sheet (cut to fit as lid) | 1 | 40 | Stationery shop |
| Net pots (2 inch) | 8 | 80 | InHydro |
| Cocopeat (block, expands to ~5L) | 1 | 80 | Local nursery |
| Clay pebbles (LECA) 1kg | 1 | 150 | Amazon India |
| Hydroponic nutrients (A+B set, 500ml) | 1 | 280 | InHydro |
| 10W USB LED grow light (clip-on) | 1 | 350 | Amazon India |
| Seeds (basil, mint, coriander, lettuce, methi) | 5 packets | 100 | Local nursery |
| 2 reused glass jars (backup Kratky) | 2 | 0 | Pickle jars |
| TDS meter (₹200, optional but useful) | 1 | 0* | *Already had one |
| Total | ₹1,200 | ||
If you skip the grow light (and have a sunny kitchen window), you’re looking at ₹850. If you want to go even more bare-bones with just 2 Kratky jars, ₹400 is enough.
How I Set It Up (Step by Step)
Step 1: Pick the right counter spot. I chose the corner farthest from the gas stove — about 4 feet away — and right next to the kitchen window. Rule of thumb: at least 3 feet from any cooking burner so oil splatter and steam don’t reach the leaves. If your kitchen is too compact, put the system on top of the fridge or on a wall-mounted shelf above the counter.
Step 2: Prep the tray. The shallow plastic tray became my reservoir. I cut a thermocol sheet to sit on top as the floating lid, then used a hot knife (carefully) to cut 6 holes — each just slightly smaller than the rim of a 2-inch net pot, so the pot sits snugly. Spaced them ~3 inches apart so plants don’t shade each other.
Step 3: Block the light. Wrapped the outside of the tray with two layers of black electrical tape. The tray was already opaque-ish but I wasn’t taking chances — light leaking into the reservoir is the single biggest cause of algae, and algae is what makes hydroponics gross. Took 10 minutes. Worth every second.
Step 4: Mix the nutrient solution. Filled the tray with 4 litres of RO water (my city’s tap TDS is around 350 — too high for hydroponics). Added 5ml each of nutrient A and nutrient B as per bottle instructions. Final TDS came to ~800 ppm, which is in the sweet spot for leafy herbs.
Step 5: Plant. Half-filled each net pot with clay pebbles, then a layer of moist cocopeat, then 2–3 seeds per pot pressed in lightly, then a thin cocopeat layer on top. Set the pots into the lid holes — the bottom of each net pot should just barely touch the water surface. Roots will find the water within 4–6 days.
Step 6: Light setup. Clipped the 10W USB grow light to the underside of the upper kitchen cabinet, about 10 inches above the plants. Plugged it into a ₹150 mechanical timer set to 14 hours on / 10 hours off. Done.
The 90-Day Honest Harvest Log
| Week | What Happened |
|---|---|
| 1 | Seeds germinated in 3–5 days. Lettuce was first, methi second. Coriander took 8 days (normal — it’s a slow starter). |
| 2 | First true leaves appeared. I noticed the cocopeat was drying on top — added a small spray of water twice a day to keep germination zone moist. |
| 3 | First crisis: tray water level dropped 1.5cm in 4 days. Roots hadn’t reached the water yet for half the pots. Dropped a few drops of water through the cocopeat to bridge the gap. Crisis averted. |
| 4 | First harvest: methi microgreens. Cut, ate in dal, regrew within a week. |
| 5–6 | Lettuce ready. Cut outer leaves, kept inner crown intact. Harvested every 4 days for the next 5 weeks. |
| 7 | Basil exploded. Two pots became one giant green canopy. Started pruning aggressively to encourage bushiness — pesto every Sunday became a thing. |
| 8 | First coriander harvest. Honestly the most useful herb of the lot for an Indian kitchen — used it in literally every meal. |
| 9–10 | Algae appeared on the tray rim where the tape had peeled. Re-taped, flushed reservoir, refilled with fresh nutrient mix. No more algae. |
| 11 | Mint cuttings (taken from a friend’s garden) rooted in the backup jar in 5 days. Transferred to a third net pot in the tray. |
| 12–13 | Steady-state mode. Top up water every 4–5 days, full nutrient flush every 14 days, harvest something almost every day. |
Estimated value of harvest over 90 days: roughly ₹1,800–₹2,200 of herbs at typical Mumbai/Bangalore sabzi mandi prices. Net positive after the third month — and the system keeps going.
Mistakes I Made (So You Don’t Have To)
Mistake #1: Placed it too close to the stove. First week, the basil leaves had a faint oily film by day 5. Moved the whole tray 2 feet further. Problem solved. Splatter travels further than you think — keep at least 3 feet from any open flame or kadhai.
Mistake #2: Used tap water without checking TDS. First batch grew slowly and looked pale. Tested tap water — 380 TDS, too high. Switched to RO water and growth doubled in two weeks. If you don’t have RO, let tap water sit overnight in an open container so chlorine evaporates, then test with a ₹200 TDS meter.
Mistake #3: Skipped the grow light “because the window has light.” True, my window has light — but only from 8 AM to 11 AM. After that, the kitchen is dim. Plants stretched (legginess) and got weak. Added the 10W grow light on day 12 and stems thickened up within a week. If your counter doesn’t get 6+ hours of direct sun, just buy the light. ₹350 well spent.
Mistake #4: Planted too many things in one go. I planted basil, mint, coriander, methi, lettuce, AND chillies all on day one. The chillies needed deeper containers and way more light — they died in week 4. Stick to herbs and leafy greens on the kitchen counter. Save fruiting plants for a balcony or bigger setup.
My Daily & Weekly Routine (3 Minutes a Day)
Every morning (30 seconds): Quick visual check while the kettle boils. Look at leaves — yellowing? Drooping? Bugs? 95% of mornings, everything is fine and I just admire the plants for 10 seconds and move on.
Every 4–5 days (2 minutes): Top up the reservoir with plain RO water. As plants drink, water level drops. I refill to the original mark with just water (not nutrients) because evaporation concentrates the nutrient mix.
Every 2 weeks (10 minutes): Full reservoir flush. Drain old water into the pot plants on my balcony (zero waste — they love the leftover nutrients). Wipe down the tray. Refill with fresh RO water + new A+B nutrients. Test TDS — aim for 800–1,000 ppm for herbs.
Every harvest (when needed): Cut from the outer/older leaves first. Never cut more than 1/3 of the plant at once. Basil and mint actually grow back faster the more you prune them — counter-intuitive but true.
How This Compares to My Other Setups
I’ve now run setups in just about every part of my apartment. Here’s where the kitchen counter ranks:
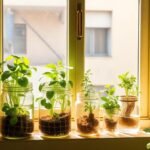
- vs window setup: Counter wins on convenience (you’re already there cooking), window wins on sunlight. I now run both.
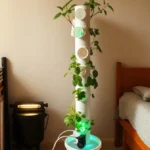
- vs vertical tower: Tower has way more capacity (18 plants) but takes up floor space. Counter is for daily-use herbs; tower is for production.
- vs shelf setup: Shelf grows more plants but you forget about them. Counter is in your face — way better for habit-building.
- vs balcony budget system: Budget system is cheaper to start but exposed to weather. Counter is climate-controlled all year.
If you can only build one hydroponic setup in your apartment, I genuinely think the kitchen counter is the highest ROI per square foot in the entire house. It’s where I’d start a beginner.
Honest Final Verdict After 90 Days
Would I do it again? Already have — I built a second one for my parents’ kitchen last weekend. The setup pays for itself by week 8, takes 3 minutes a day, and changes how you cook. Fresh herbs become a default ingredient instead of a “should I bother going to the store” decision.
The catch nobody mentions: once you start, you’ll start eyeing every flat surface in your house as “potential growing space.” My wife has caught me measuring the top of the washing machine. Twice. So fair warning — this is a slippery slope.
Start with one tray. Six pots. Three herbs. See how it feels in two weeks. I bet you’ll be back here looking for the vertical tower guide before the month is out.