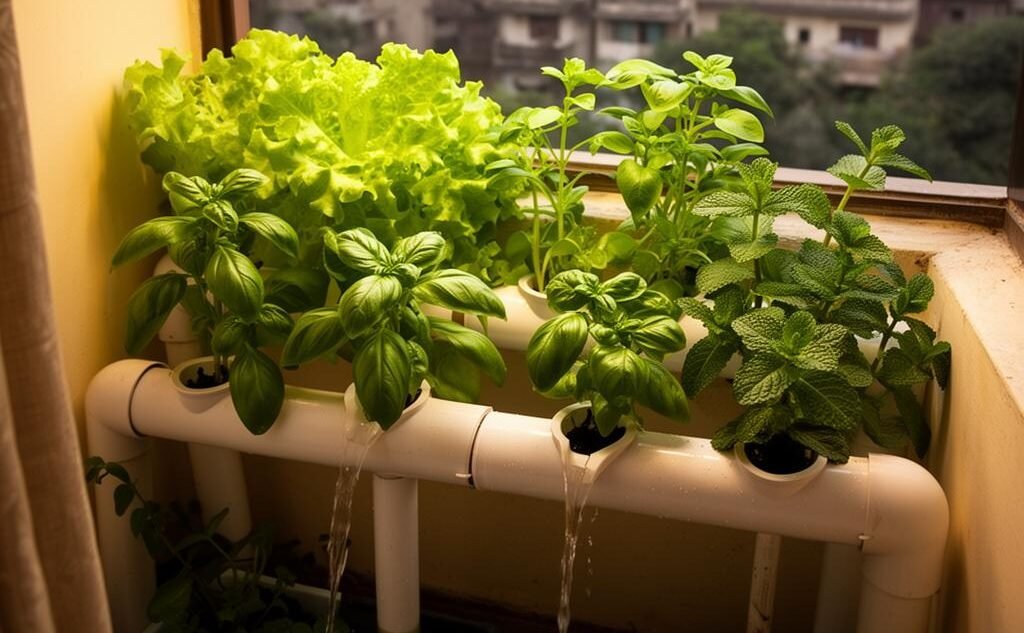
I spent three weeks obsessing over YouTube videos, burning through ₹2,000 on the wrong nutrient mix, and accidentally flooding my balcony at 2 AM — all before I finally grew my first batch of fresh lettuce without a single grain of soil. And honestly? That soggy midnight disaster taught me more than any So-called “Complete Guide” ever could.
If you’re living in a 1BHK or 2BHK in Mumbai, Bangalore, Delhi, or any Indian city where your “garden” is basically a window ledge and a prayer — this post is for you. I’m going to walk you through exactly how I set up a working hydroponic garden in just 2×2 feet of space, what it cost me, what went wrong, and what I’d do differently.
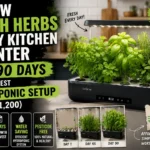
You can build a functional Kratky-method hydroponic setup in 2×2 ft for under ₹1,500, grow leafy greens like lettuce, spinach, and herbs in 3-4 weeks, and maintain it with just 10 minutes of effort per week. No pump, no electricity needed for the basic version.
Why Hydroponics? (And Why Now, In India?)
Look, I get it. When someone says “hydroponics,” your brain goes to those massive commercial greenhouses with ₹50 lakh setups. That’s not what we’re doing here.
Here’s what pushed me to try it: I was paying ₹60-80 for a small bunch of basil at Nature’s Basket. The lettuce from the local sabziwala had more pesticide residue than I was comfortable with. And my apartment balcony gets maybe 4 hours of direct sunlight — not enough for traditional container gardening.
Hydroponics solved all three problems. Plants grow 30-50% faster than soil. You control exactly what goes in. And with the right setup, you don’t even need direct sunlight.
- It takes 90% less water than traditional farming
- LED works just fine, no need for Sunlight
- starter setup would cost roughly ₹1500
The Complete Shopping List
Before I dump a materials list on you, let me explain the method I chose: Kratky Method. It’s the simplest hydroponic technique — no pumps, no electricity, no timers. You literally fill a container with nutrient water, suspend your plant above it, and let the roots dangle in. That’s it. Seriously.
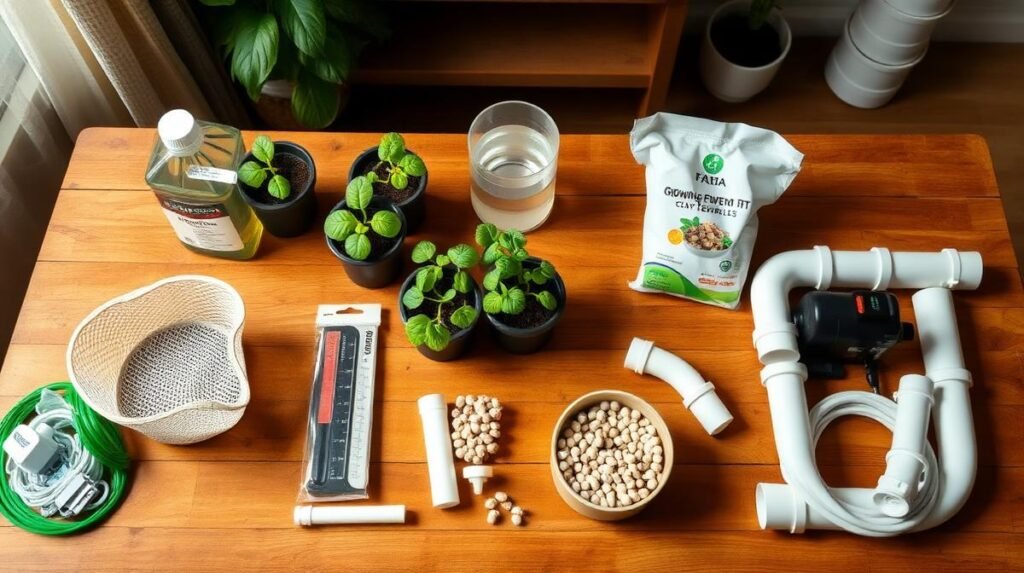
| Item | Where to buy | Cost |
| 5L plastic containers (×4) | Local hardware / Amazon | ₹200-300 |
| Net pots 2-inch (×12) | Amazon / InHydro | ₹120-150 |
| Clay pebbles (1 kg) | Amazon / nursery | ₹150-200 |
| Hydroponic nutrient (A+B) | InHydro / Amazon | ₹350-450 |
| pH testing kit | Amazon | ₹200-300 |
| Seeds (lettuce, basil, mint) | Local nursery | ₹50-100 |
| Cocopeat (for germination) | Any nursery | ₹50 |
| Total (approx.) | ——————— | ₹1,100 – 1,500 |
Tip:- Skip the fancy “hydroponic starter kits” on Amazon that cost ₹3,000+. Most of them are the same materials you can buy separately for half the price. The markup is insane. I learned this the hard way.
Step-by-Step: Building Your 2×2 ft Hydroponic Setup
Step 1: Germinate Your Seeds (Day 1-7)
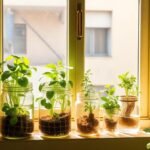
Take small pieces of cocopeat, soak them in water, and place your seeds in them. I used a simple plastic tray with drainage holes. Keep it in a spot that gets indirect light — a kitchen windowsill works perfectly.
My mistake: I tried germinating directly in the net pots with clay pebbles. Don’t do this. The seeds kept falling through the gaps, and I lost an entire batch of lettuce seeds. Cocopeat gives them something to grip onto.
Within 5-7 days, you should see small seedlings with their first “true leaves” (not the initial round ones — those are cotyledons).
Step 2: Prepare Your Containers (Day 5-6)
While your seeds are germinating, prep your containers. Take each 5L container and cut holes in the lid that are just big enough for your net pots to sit in snugly without falling through. I used a 2-inch hole saw bit on a regular drill. If you don’t have a drill, a heated metal pipe works — just be careful and do it outdoors.
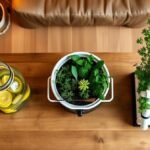
Each container fits 3 net pots comfortably. With 4 containers, that’s 12 plants in a 2×2 ft area. You can arrange them in a 2×2 grid on a small table, shelf, or even on the floor.
Step 3: Mix Your Nutrient Solution
This is where most beginners panic, but it’s honestly dead simple. Most hydroponic nutrients sold in India come as a two-part solution (A and B). For a 5L container:
- Add 5ml of Solution A to your water, stir well
- Then add 5ml of Solution B, stir again
- Check pH — it should be between 5.5 and 6.5
- If pH is high (common with Indian tap water), add a few drops of pH-down solution or even a squeeze of lemon
The Mistake which cost me a week
I mixed A and B together before adding them to the water. Big mistake. When you mix the concentrated solutions directly, they react and form a precipitate — basically, the nutrients become unavailable to the plants. Always add them separately to the water. Solution A first, stir, then Solution B.
Step 4: Transplant Your Seedlings (Day 7-10)
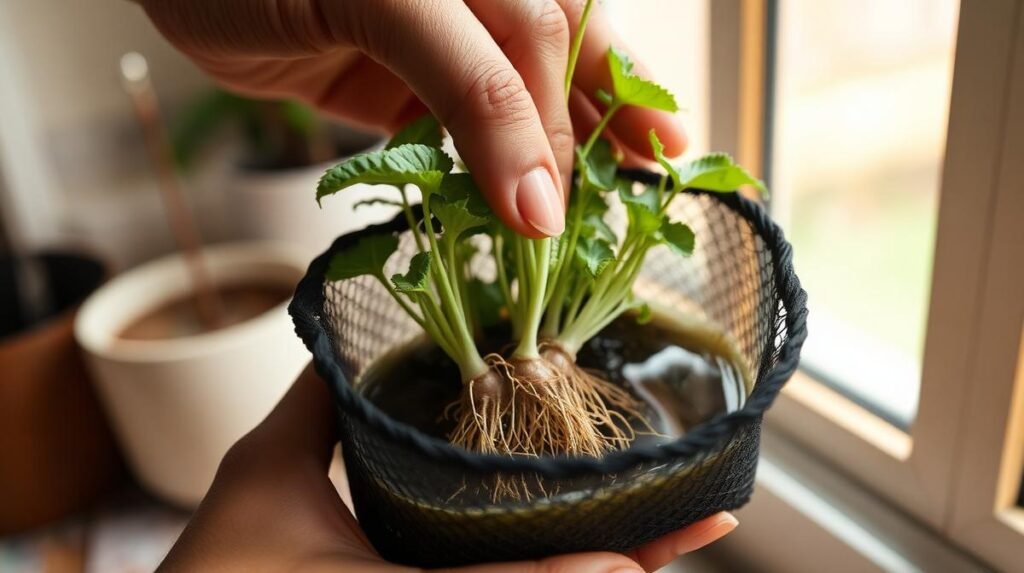
Once your seedlings have 2-3 true leaves, gently remove them from the cocopeat (don’t wash off all the cocopeat — a little is fine), place them in net pots, and surround them with clay pebbles for support.
Insert the net pots into the container lids. The bottom of the net pot should just touch the nutrient solution. As the plant grows and the water level drops, the roots will chase the water down. This is the magic of the Kratky method — it’s self-regulating.
Step 5: Place, Wait, and Watch the Magic
Put your containers in a spot that gets at least 4-6 hours of indirect sunlight. A balcony that faces east or north works great in most Indian cities. If your apartment is really dark (like mine was during monsoon), a ₹500 LED grow light from Amazon does the trick.
Now here’s the beautiful part: with the Kratky method, there’s almost nothing to do. No watering schedule. No pump to maintain. Just check the water level once a week and top up if it gets too low. That’s literally it.
What I Grew (And What Failed Miserably)
Let me be real — not everything worked. Here’s my honest scorecard after 3 months of growing:
| Lettuce (Butterhead)1 | Amazing |
| Basil (Italian & Tulsi)2 | Great |
| Mint (Pudina)3 | Excellent |
| Spinach (Palak)4 | Decent |
| Tomato (Cherry)5 | Failed (miserbly) |
| Coriander (Dhaniya)6 | Struggled |
- Ready in 25 days. Grew 3 batches. Each batch gave enough for daily salads for a week. ↩︎
- Tulsi grew like crazy. Italian basil was slower but the flavor was unreal compared to store-bought. ↩︎
- Grows aggressively. One plant gave me enough for daily chai and chutney. ↩︎
- Took longer than lettuce (~35 days). Leaves were smaller but tasted sweeter. ↩︎
- Kratky isn’t great for fruiting plants. They need more oxygen at the roots. Will try DWC next time. ↩︎
- Coriander hates being transplanted. Bolted quickly in summer heat. Not worth it for beginners. ↩︎
Tip:- Start with lettuce and mint. Seriously, don’t get ambitious on your first try. These two are nearly impossible to kill in hydroponics, they grow fast, and you’ll actually use them daily. Nothing beats pulling fresh pudina for your evening chai from a garden you built yourself.
Weekly Maintenance: My 10-Minute Routine
People always ask me, “Bhai, kitna time lagta hai?” (How much time does it take?). Here’s my honest weekly routine:
- Check water level — Peek inside each container. If water is below 50%, top up with fresh nutrient solution. (2 mins)
- Check pH — Dip a pH strip. Indian tap water tends to be alkaline (7.5-8.5), so you might need to add pH-down every 2 weeks. (2 mins)
- Look for algae — If you see green slime on the container walls or water surface, it means light is getting in. Cover any gaps with aluminum foil or black tape. (2 mins)
- Harvest! — Cut outer leaves from lettuce (it’ll keep growing from the center), snip basil from the top, and pluck mint leaves freely. (4 mins of pure joy)
The Real Cost Breakdown: Is Hydroponic Gardening Worth It in India?
Let’s do the math. This is something I haven’t seen any other blog break down honestly.
📊 3-Month Cost vs Savings

• Initial setup: ₹1,500 (one-time)
• Nutrients (3 months): ₹300 (one bottle lasts ~4 months)
• Seeds: ₹100
• Total spent: ₹1,900
——————————————————————————————————————————
• Lettuce saved: ~₹2,400 (₹80/bunch × 2 bunches/week × 12 weeks + extra from multiple harvests)
• Basil saved: ~₹960 (₹60/bunch × ~16 harvests)
• Mint saved: ~₹480 (₹20/bunch × continuous growth)
• Total market value of produce: ₹3,840+
Net savings in 3 months: approximately ₹1,940. By month 4 onwards, it's almost pure profit since you only spend on nutrients and seeds (~₹100/month).
But honestly? The savings aren’t even the main point. It’s the quality. Store-bought lettuce in India is often grown with water that… let’s just say you don’t want to think about it too much. Growing your own means you know exactly what went into your food. That peace of mind is priceless, especially when you’re feeding your family.
Surviving Indian Summers: Heat Management Tips
This is the part where most “global” hydroponic guides become useless for us. They don’t account for 45°C Delhi summers or 90% Mumbai humidity. Here’s what I learned:
- Water temperature matters more than air temperature. If your nutrient solution crosses 30°C, roots start suffocating. Wrap your containers in aluminum foil or use opaque dark containers.
- Add ice cubes during peak summer. Sounds janky, but dropping 2-3 ice cubes into each container during afternoon heat works. I did this through May-June in Pune and my plants survived.
- Shift to heat-loving herbs in summer. Lettuce bolts (goes to seed and becomes bitter) above 35°C. Switch to tulsi, curry leaves, and mint during April-July — they actually thrive in the heat.
- If possible, bring containers indoors during peak afternoon hours. A 2×2 ft setup is light enough to move. I kept mine on a rolling cart from IKEA (₹800) that I wheeled inside during 2-5 PM.
In Monsoon:- The monsoon season (July-September) is actually perfect for hydroponics in most Indian cities. The humidity keeps plants happy, temperatures are moderate, and you don’t need to worry about water evaporation. My best harvests were always during monsoon.
5 Mistakes I Made So You Don’t Have To
- Using transparent containers. Algae growth went insane within a week because light penetrated the water. Always use opaque containers or wrap them in tape/foil.
- Ignoring pH for the first 2 weeks. My plants were yellowing and I couldn’t figure out why. Turns out my Pune tap water had a pH of 8.2 — way too alkaline. Plants couldn’t absorb nutrients. One pH kit would have saved me 10 days of frustration.
- Overfilling containers. In Kratky, you need an air gap between the water surface and the net pot. Roots need both water AND air. I filled mine to the brim initially, and the roots essentially drowned. Leave at least 2-3 cm of air gap.
- Trying to grow everything at once. I started with 6 different plants. Managing different nutrient needs, pH preferences, and growth rates was overwhelming. Start with 1-2 types max.
- Buying “imported” nutrients at 3x the price. Indian brands like InHydro, City Greens, and UrbanMali make perfectly good nutrient solutions at a fraction of the cost. I wasted ₹1,200 on a “premium imported” bottle that performed identically to a ₹350 Indian one.
What’s Next?
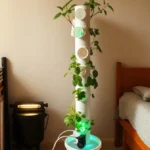
After 3 months of successful Kratky growing, I’m now upgrading to a small NFT (Nutrient Film Technique) system. This uses a tiny pump to circulate water through PVC pipes and can fit 20-30 plants in the same 2×2 ft space by going vertical.
The upgrade cost? About ₹2,500-3,000 for the pump, pipes, and fittings. But I want to try growing cherry tomatoes and strawberries — and those need the extra oxygen that circulating water provides.
I’ll write a detailed post about that build once it’s running. For now, if you’re just starting out — stick with Kratky. It’s the lowest barrier to entry, and the confidence you build from your first successful harvest is worth everything.
If this post helped you, share it with someone in your apartment complex who’s been talking about wanting to grow their own food. Trust me — once they see your balcony garden, everyone’s going to want one.