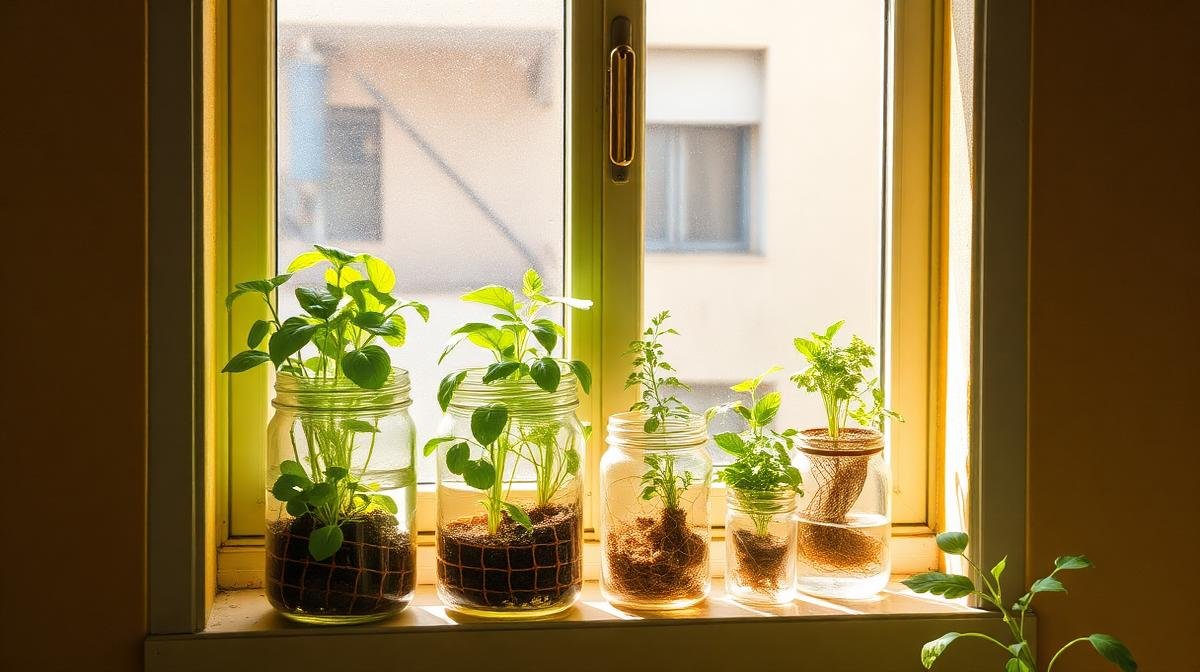
Look, I’ll be honest with you — I didn’t plan this. I was standing in my kitchen one evening, staring at the window, holding a bunch of coriander that cost me ₹30 and was already turning yellow. And I just… thought, “bhai, this window gets sunlight for like 5 hours a day. Why am I NOT growing stuff here?”
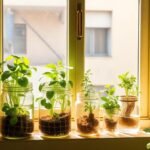
That was three months ago. Today, that same kitchen window has 8 mason jars with basil, mint, coriander, chillies, and methi — all growing without a single gram of soil. My bedroom window has another 4 jars. 12 plants total. Two windows. Zero soil. Zero electricity. And I haven’t bought coriander from the market in 11 weeks. You can even look at how i tested 3 different hydroponic setups and which one is best among them (from my pov offC).
If you’ve ever looked at your window and thought “I wish I could do something with this space” — congratulations, you’ve already completed step one. Let me show you the rest.
Why Your Window Is Secretly the Best Growing Space You Have
Here’s the thing most people don’t realize about Indian apartments (cities) — your windows are already optimized for plant growth. Think about it: a south or east-facing window in most Indian cities gets 4-6 hours of direct sunlight. That’s more than what most herbs actually need. Basil? Needs 4 hours. Mint? 3-4 hours. Coriander? 3 hours, and it actually prefers indirect light after that.
The problem with traditional window gardening has always been the mess — soil, drainage plates, water dripping on the soil, those annoying little gnats that appear from nowhere. Hydroponics fixes literally all of that. No soil = no mess, no gnats, no drainage issues. Just clean jars with water and nutrients. Your landlord won’t even notice.
And here’s the math that convinced me: my kitchen window is roughly 3.5 feet wide and 8 inches deep. That’s about 2.3 square feet of usable space. In soil pots, I could maybe fit 3-4 plants there because pots are bulky. With mason jars? I’m running 8 plants in the same space because jars are compact and you can push them closer together. That’s a 2x improvement just by switching the medium.
The Exact Materials I Used (Full Cost Breakdown)
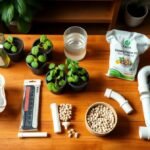
I’m going to list every single thing I bought. No hiding costs, no “oh and you’ll also need…” surprises. This is the actual, complete list:
| Item | Qty | Cost (₹) | Source |
| Mason jars (500ml) | 12 | 0 | Reused pickle/jam jars |
| Net pots (2 inch) | 12 | 80 | InHydro |
| Cocopeat (block) | 1 | 80 | Local nursery |
| Clay pebbles (LECA) 1kg | 1 | 150 | Amazon India |
| Hydroponic nutrients (AB set) | 1 | 200 | InHydro |
| Seeds (basil, mint, coriander, chilli, methi) | 5 packets | 100 | Local nursery |
| Dark tape / cloth (to wrap jars) | 1 roll | 30 | Stationery shop |
| Plastic drip tray | 2 | 60 | ₹30 each, local market |
| Total | ₹700 |
₹700. That’s it. And honestly, if you already have old jars lying around (who doesn’t have pickle jars in an Indian kitchen?), your actual spend could be under ₹500. This is probably the cheapest hydroponic setup I’ve ever built — and arguably the most productive per rupee.
How I Set It Up (Step by Step, Desi Style)
Step 1: Jar Prep. I cleaned 12 old jars — pickle jars, jam jars, one was a Bournvita jar (the wide-mouth ones are perfect). Wrapped each one with dark electrical tape. Why? Because roots hate light and algae loves it. If light hits the water, you’ll get green slime within a week. Learn from my mistake — I skipped this on my first two jars and spent a weekend scrubbing algae.
Step 2: Lid Holes. Used a heated screwdriver (held over the gas stove for 30 seconds — careful, use a cloth to hold it) to melt a circle in each plastic lid. The hole should be just big enough for the net pot to sit in without falling through. If your jars have metal lids, use a drill or just cut the lid with tin snips. I destroyed two lids before getting the hang of it. Classic.
Step 3: Growing Medium. Filled each net pot with a mix — bottom half clay pebbles (LECA) for drainage and support, top half cocopeat for seed germination. You could also start seeds separately in a wet tissue paper and transplant the sprouts. I’ve done both. Direct sowing in the net pot is lazier and works fine for coriander, methi, and basil.
Step 4: Nutrient Mix. Filled jars with water up to where the net pot bottom just touches the surface. Added hydroponic nutrients as per the bottle instructions (usually 5ml A + 5ml B per litre). This is the Kratky method — no pump, no air stone, no electricity. The plant drinks the water, a gap forms, roots in the gap absorb oxygen. It’s beautiful in its simplicity.
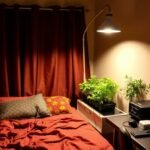
Step 5: Window Placement. Kitchen window (east-facing): 8 jars in a single row. Gets sunlight from 7 AM to 12 PM. Bedroom window (west-facing): 4 jars. Gets afternoon sun from 1 PM to 5 PM. I added a USB grow light strip on the bedroom window because west-facing in my apartment gets partially blocked by the neighbor’s building after 3 PM.
What’s Growing on My Windows Right Now
Here’s the current lineup (as of month 3):
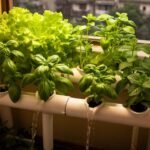
- Basil (Tulsi + Italian) — 3 jars. The undisputed champion of window hydroponics. Grows fast, smells amazing, and I use it in everything from chai to pasta. Italian basil in particular went absolutely mad — bushy, fragrant, has to be pruned every 5 days.
- Mint (Pudina) — 2 jars. Started from a cutting from my mom’s garden. Dropped it in a jar with water. Rooted in 4 days. This thing is now a mint factory. One jar gives me enough for a week of chutney and raita.
- Coriander (Dhaniya) — 3 jars. This one’s tricky — coriander bolts (goes to seed) fast in heat. I do staggered sowing: new seeds every 2 weeks so there’s always a fresh batch coming up as the older one finishes. Takes planning but works.
- Green Chillies — 2 jars. These grew slower than I expected, but once they started fruiting around week 6, they haven’t stopped. Small but potent. Enough for daily cooking.
- Methi (Fenugreek) — 2 jars. Harvested as microgreens at week 2. Grew back. Harvested again. It’s been 3 cycles. Methi doesn’t care — it just keeps growing.
Total harvest so far? I’m estimating about ₹1,500 worth of herbs saved over 3 months, against a ₹700 investment. That’s a 2x return. Not bad for something that requires 5 minutes of attention per day.
The Mistake Log (Because I Always Have One)
Mistake #1: Clear jars without wrapping. My first two jars were transparent glass. Within 8 days, the water turned pea-soup green with algae. The roots were fine but the algae started competing for nutrients and the basil growth slowed down noticeably. Wrapping with tape fixed it immediately. Don’t skip this step. I know wrapped jars don’t look “aesthetic” on Instagram but green slime water looks worse.
Mistake #2: Overcrowding the kitchen window. I initially tried cramming 10 jars on the kitchen window. They fit physically but the plants on the edges weren’t getting enough light because the center plants were casting shadows. Dropped down to 8, spaced them out a bit, and everything improved. Sometimes less is actually more. Revolutionary concept, I know.
Mistake #3: Not accounting for summer heat. May in Hyderabad is no joke. My west-facing window jars hit 35°C water temperature by 3 PM. The coriander bolted in 2 days. The basil drooped. Solution: I now move the bedroom jars back from the window edge by 2 PM during peak summer. Just 6 inches back makes a 3-4°C difference. Also adding 2 ice cubes to each jar at noon. Sounds silly, works perfectly.
Mistake #4: Ignoring root length. Chilli plant roots grew way longer than I expected — like 8-9 inches. My jar was only 6 inches tall. The roots coiled at the bottom and started getting tangled. Switched the chillies to taller jars (old pasta sauce bottles work great) and problem solved. Match your jar height to the plant’s root length, not its leaf size.
Window Hydroponics Tips for Indian Conditions
Monsoon season: Humidity goes crazy (70-90%). Good news: most herbs love it. Bad news: algae grows faster and you might get mold on the cocopeat surface. Keep a small fan pointed at the window setup — even a USB desk fan works. Air circulation is your best friend during monsoon.
Summer heat: If your water temperature crosses 30°C regularly, add the ice cube trick or use a reflective car sunshade behind the jars. It bounces light back onto the plants (more photosynthesis) while blocking heat absorption. I cut up an old sunshade and taped it to the window frame behind my jars. Cost: ₹0 because it was lying in my car’s trunk.
Water quality: If your tap water has high TDS (above 300), use RO filtered water. Most Indian cities have TDS between 200-500. High TDS water already has minerals that can mess with the nutrient balance. I use RO water and my plants are noticeably happier than when I used straight tap water. Check TDS with a ₹200 meter from Amazon if you’re unsure.
The “jugaad” grow light: Can’t afford a proper grow light? Get a 15W white LED bulb (the standard ones everyone has) and clamp it to the window frame with a binder clip and wire. Run it 4-5 hours after sunset. It’s not as good as a dedicated grow light but it genuinely helps, especially for north-facing windows. Total cost: ₹30 for the bulb if you don’t already have one.
Scaling Up: From One Window to Every Window
Here’s what happened after month 1 — I got greedy. The kitchen window was producing so well that I looked at every other window in my apartment like a potential farm. Bedroom window? Done, added 4 jars. Bathroom window? It gets great morning light but the humidity is already insane, so I put a single jar of mint there (mint is basically unkillable). Living room window? My wife vetoed that one. Fair enough.
If you want to go beyond flat windowsill space, here’s the upgrade path I’m planning:
- Tension rod + hanging jars: A ₹200 curtain tension rod across the window frame, then hang jars from it with wire. Doubles your plant count without touching the sill.
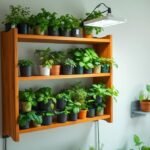
- Tiered window rack: A small 2-tier spice rack (₹300-400 on Amazon) repurposed as a plant stand. Fits on the windowsill, gives you two rows instead of one.
- Vertical strings: The classic windowfarm approach — hang bottles vertically on strings across the window. I haven’t tried this yet but it’s next on my list.
The beauty of window hydroponics is that the only limitation is how many windows you have. And in most Indian apartments, that’s at least 3-4. You could realistically run 20-30 plants across all your windows without taking up any floor space at all. Zero square feet of floor space. Think about that.
Final Thoughts: Why This Is My Favorite Setup
I’ve built budget systems, bedroom farms, shelf setups, and vertical towers. Each one has its charm. But the window setup? It’s my favorite. And here’s why:
It uses space that was literally doing nothing. The windowsill was collecting dust and maybe holding a phone charger. Now it grows food. It needs zero electricity (unless you add a grow light). It costs less than a pizza. And it produces fresh herbs daily — the kind of herbs that cost ₹20-30 per bunch at the sabzi mandi and go bad in 2 days.
There’s something deeply satisfying about plucking fresh pudina from your kitchen window, crushing it into a glass of nimbu paani, and drinking it while staring at the plants that grew it. It’s a small thing. But it makes the apartment feel alive. It makes you feel like you’ve hacked the system a little bit.
And honestly? In a country where most of us live in apartments with limited space, learning to use every surface — every window, every shelf, every corner — for growing food feels like a superpower. A really nerdy, plant-obsessed superpower. But a superpower nonetheless.
Start with one jar. One window. One herb. See what happens. I promise you won’t stop at one.
How many plants can I grow on a single window using hydroponics?
Do window hydroponic plants get enough sunlight in Indian apartments?
What is the cheapest way to start window hydroponics in India?
How often should I change the water in window hydroponic jars?
Will window hydroponics damage my windowsill or attract insects?
- I Stopped Recommending Kratky to Beginners — Here’s What Changed My Mind
- I Grew Fresh Herbs on My Kitchen Counter for 90 Days — My Honest Hydroponic Setup (Under 1,200)
- I Tested 3 Small Hydroponic Setups — Here’s the Best One
- I Turned My Boring Window Into a Mini Farm (Zero Soil)
- I Built a Vertical Hydroponic Tower in My Tiny Room